
Hello everyone!! I have an easy Christmas card for you today....just some awesome TE dies, a piece of acetate, and some beautiful Christmas designer paper from Taylored Expressions.

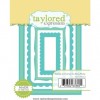
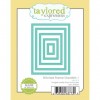
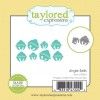
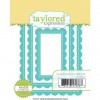
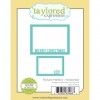
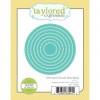
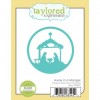
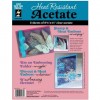
I cut the nativity scene out of Blue Corn cardstock with the Away in a Manger die, the frame was cut out of Sugar Cube cardstock with the Picture Perfect - Horizontal die, the Heat Resistant Acetate was cutout with the Stitched Circle Stacklets, and not pictured is the Blue Corn scalloped background that was cutout with the Frame in Frame 2 Cutting Plate (I added the scalloped diecut after I took the picture).

First, the acetate circle was adhered to the back of the nativity scene and after the star on the top was lined up with the star in the middle of the designer paper from the Build a Scene - Christmas 6x6 paper pack, it was adhered. The acetate gives the nativity a glowy and unexpected look.
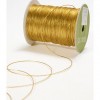
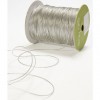
The scalloped Blue Corn frame was adhered to the back of the Perfect Picture - Horizontal frame and then they were adhered to the background. A Metallic Twine - Silver bow was added as the finishing touch. Easy Peasy!!
I now have 4 or 5 Christmas cards finished...yay me!!! Thanks for stopping by...have a great day!!!

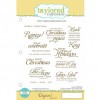
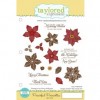
Supply List:
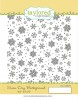
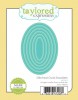
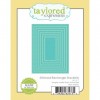
Taylored Expressions Dies: Away in a Manger, Frame in Frame 2 Cutting Plate, Picture Perfect - Horizontal, Stitched Circle Stacklets
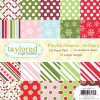
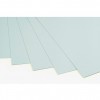
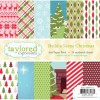
Taylored Expressions Paper: Sugar Cube, Blue Corn, Build a Scene - Christmas 6x6 paper pack, Heat Resistant Acetate
Accessories: Metallic Twine - silver
Other: Liquid Adhesive, Foam Tape, Glue Pen
 |  |  |  |  |
 |  |  |  |  |
 |  |